

On this page we will give a quick introduction to creating an animation in Chaotica.
To create an animation:
Open the animation editor window (Window > Animation Editor)
The Total Length setting should be set to the desired length of your animation in seconds, for example 10 s.
The total number of frames needed for your animation will be the Total Length multiplied by the FPS, for example 10 s * 30 frames/s = 300 frames.
You will then need to set some key-frames for scene parameters, which will result in the render changing depending on the current time/frame.
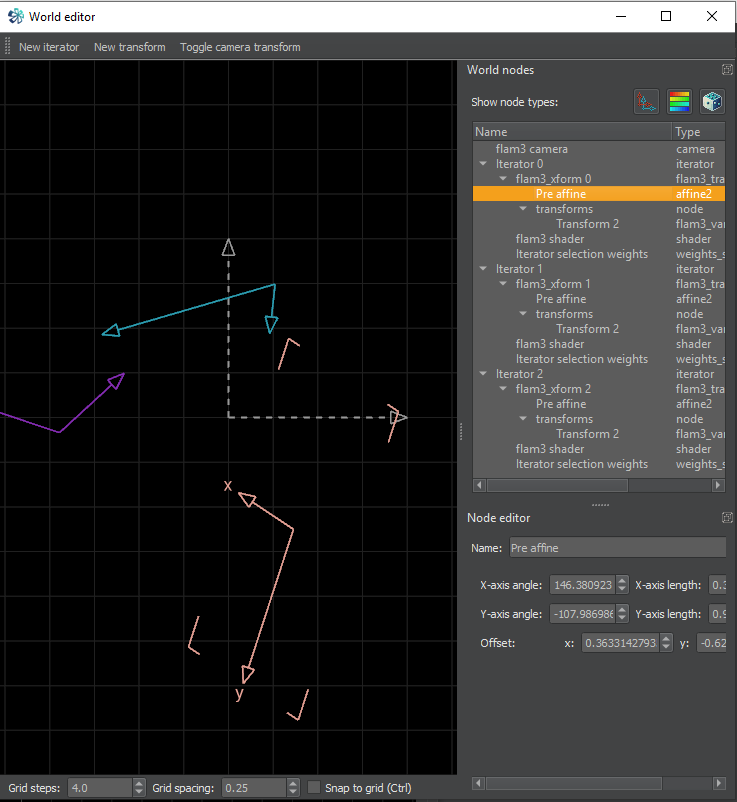
For example in the world editor (Window > World Editor), you can select a pre-affine node in the World Nodes widget, then tick the offset checkbox in the Animation Editor. This will enable an animation curve for the pre-affine offset.
You can then move around the nodes in the Animation Editor timeline, giving a curve that shows how the pre-affine offset will change over the animation period.
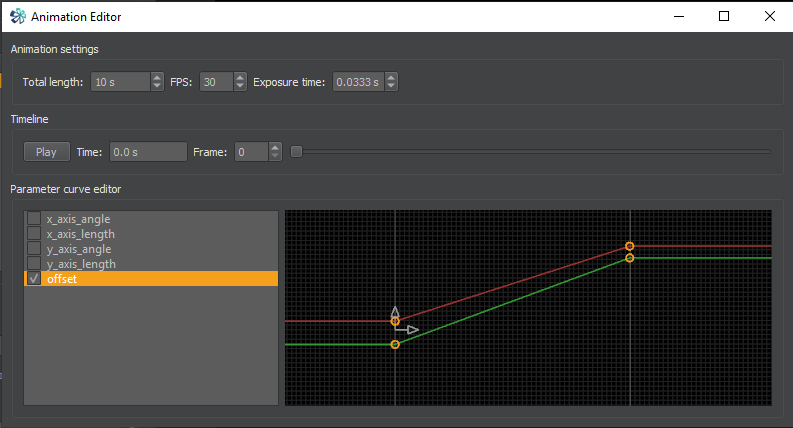
If you drag the timeline slider back and forward, you should see the render updating and changing based on the current time/frame.
Once you have this working, return the timeline slider back to frame 0.
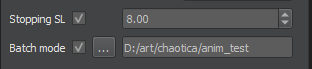
Now in the Render Settings area of the main Chaotica interface, select a folder where the animation frames will be saved, by clicking the '...' button to the right of Batch Mode.
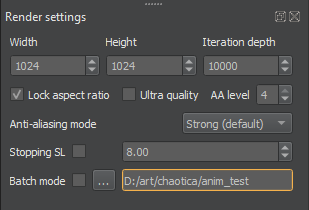
Once the output folder is set, check the Batch Mode checkbox, and then check the Stopping SL checkbox.
Chaotica will now render all frames in sequence, saving them as frame000000.png, frame000001.png etc.. in the output directory.
You can also trigger an animation render with Render > Render Animation.
Once the rendering of frames is complete, Chaotica will convert the frames to a video file, based on the settings in the Settings dialog. See the 'Video encoding' section in Settings for more details.